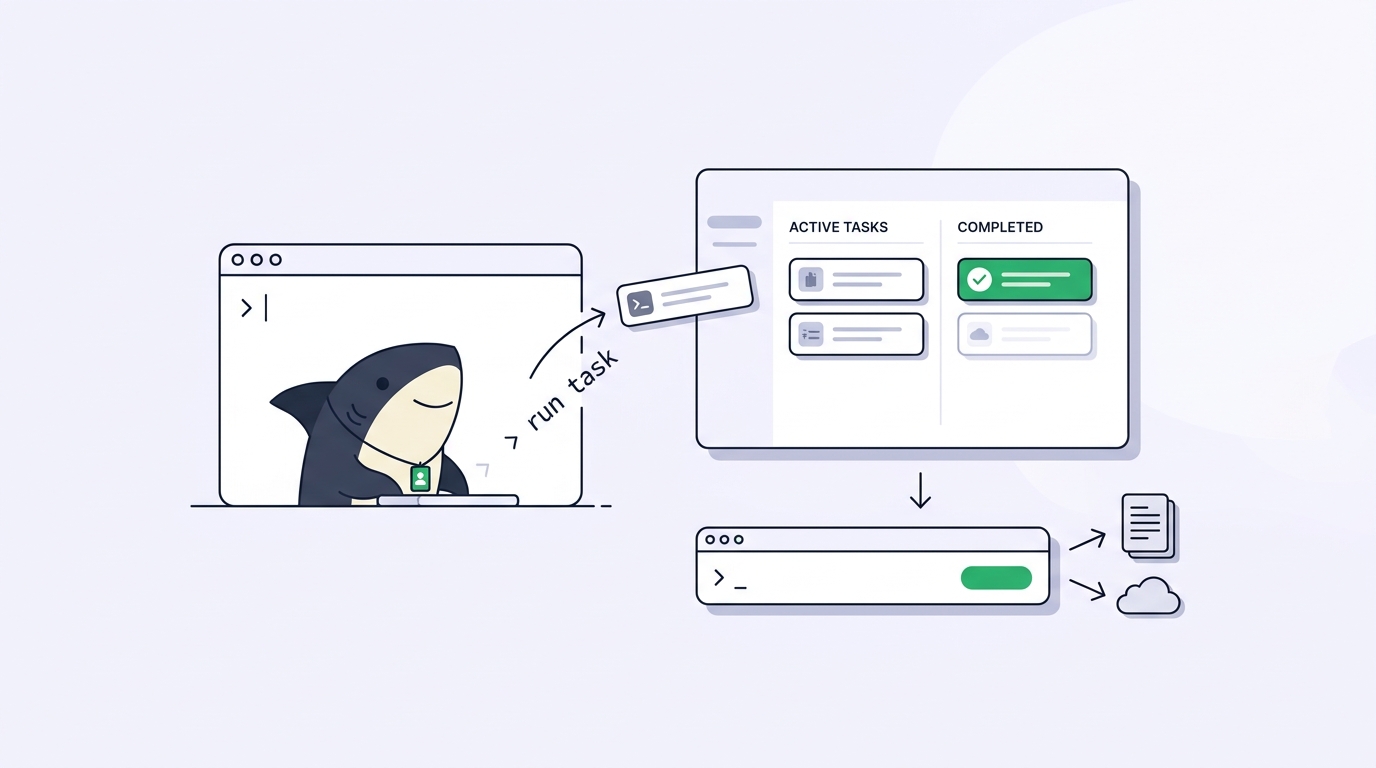
Every click in the Sharkly UI is a decision a person made: create this Task, assign that Agent, check on a run. That is the right interface for judgment calls. It is the wrong interface for the thousandth repetition of the same call. Once your team decides that every failed nightly build should become a Task, a person clicking through screens stops being a workflow and starts being a chore.
This is where the programmatic surface comes in. The Sharkly CLI lets people, agents, and scripts work with Sharkly from a terminal: manage organization resources, register a Computer for agent execution, inspect the local service, and automate repeatable workflows. Behind it sits a REST API at api.sharkly.ai that accepts the same personal access tokens the CLI uses.
This matters more for Sharkly than for a typical PM tool, because Sharkly is not just where work is described. It is where work executes. Sharkly adds the shared task, Computer, context, control, and review layer around coding tools like Claude Code and Codex, so a scripted sharkly task create does not merely file a ticket. If the Task is assigned to an Agent and sitting in a ready status, it can start a real run on a real Computer. Scripting the surface means scripting the workforce.
TL;DR
The Sharkly CLI (command sharkly) lets people, agents, and scripts work with Sharkly from a terminal, and it is also how the local service gets installed on remote and Linux hosts so they can join your fleet as Computers. Authentication is deliberately split: a personal access token (prefix shk_) logs in a human or a script, a one-time install token (prefix sit_) registers a Computer, and Agent runs use a scoped execution credential supplied by Sharkly. With a token in place, scripts can create and edit Tasks, comment on them, inspect runs and logs, and manage Computers, all with --output json for clean parsing. The same shk_ token works as a bearer token against the REST API, and Automation webhook triggers let CI and other external systems start Agent runs with a POST request.
One platform, two surfaces
Sharkly’s UI and its programmatic surface are two entrances to the same system. The Task your script creates is the same Task a teammate sees on the board, with the same status, Workflow, comments, and execution history. Scripting never routes around the shared record: automation feeds the system of record.
A useful way to divide the two is by who is deciding. Use the UI when a person is making a judgment call: shaping a requirement, reviewing a diff, accepting a result. Use the CLI or API when the decision has already been made and only the mechanics repeat: filing Tasks from a monitoring system, pulling run logs into a dashboard, checking Computer health from a cron job. A script can create the Task and even trigger the run, but acceptance stays with a person.
Installing the CLI, and what it installs
On macOS or Linux, the official installer is one command:
curl -fsSL https://file-assets.sharkly.ai/download/install.sh | bash
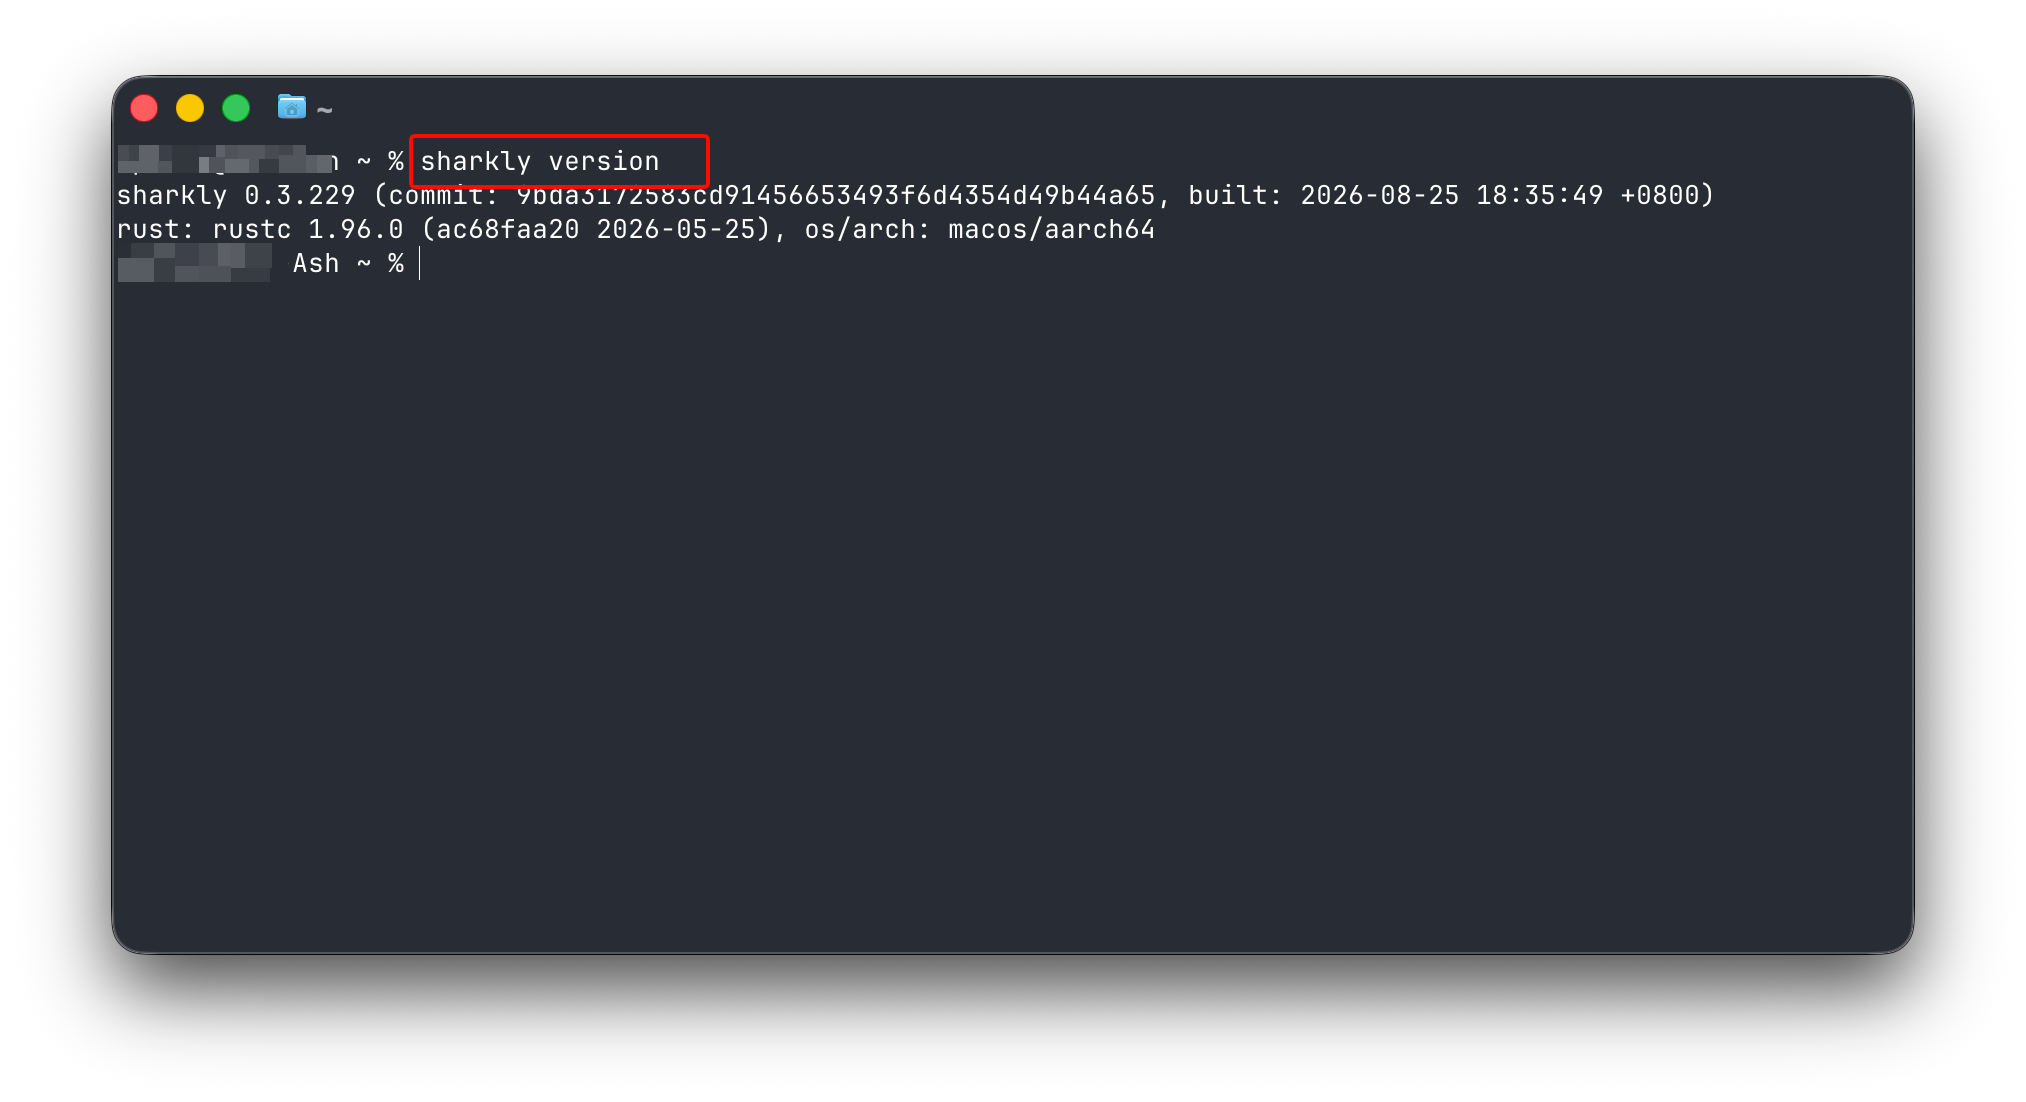
Windows has an official PowerShell installer, currently AMD64 only. On any platform, verify and maintain the install with:
sharkly version
sharkly update
The CLI plays a second role beyond being a client. The docs describe two paths for connecting a Computer: install Sharkly Desktop on a supported personal computer, or install the Sharkly CLI and local service on a remote host or Linux computer. That second path is how a build server, a spare Linux box, or a container becomes execution capacity for your Agents. The local service it sets up registers the Computer, detects installed Runtimes, sends heartbeats, receives queued runs, prepares task directories, and streams progress back, initiating the connection itself so no inbound port is required.
If you are still connecting your first machine through the UI, the getting started guide covers that flow.
Three credentials, three jobs
Sharkly uses separate credentials for separate purposes, and the separation is worth internalizing before you automate anything.
A personal access token begins with shk_ and lets the CLI, a script, or another trusted client act as your user account. You create one in Settings, choose an expiration of 30 days, 90 days, 1 year, or no expiry, and copy the full value once at creation. Log in with the prompt-based flow so the token never lands in shell history:
sharkly login --token
sharkly auth status
A computer install token begins with sit_, expires after 30 minutes, and can be used exactly once. Its only job is registering a Computer:
sharkly computer register --install-token sit_...
The third credential you never handle at all: an active Agent run gets a scoped execution credential supplied by Sharkly, limited to the command families its execution context allows.
The docs draw the boundary plainly: a personal access token does not register a computer, and an install token does not create a human CLI login. Registration creates an independent local-service session, which is why revoking your personal token later does not knock your registered Computers offline. Likewise, sharkly auth logout only clears the token from your local profile; the token stays valid on the server until you revoke it in Settings.
For CI, skip the login flow entirely. The CLI reads the token from the SHARKLY_TOKEN environment variable, which takes precedence over any saved profile. Populate it from a protected secret store, such as GitHub Actions secrets, rather than writing it into the workflow file, and keep the organization explicit with --organization-id.
Managing a fleet of Computers from the terminal
Once hosts are registered, the sharkly computer command group covers inspection and upkeep without a browser:
sharkly computer list --output json
sharkly computer show <computer-id> --output json
sharkly computer usage <computer-id> <runtime-id> --days 30 --output json
sharkly computer ping <computer-id> <runtime-id> --wait --output json
sharkly computer update <computer-id> <runtime-id>
list shows the Computers registered for the current organization, show returns one Computer with its Runtimes, usage inspects a specific Runtime, ping checks whether that Runtime can complete a round trip, and update requests a CLI update for a Runtime. The distinction ping exists for: a Computer being online only means its local service is sending heartbeats, not that a given Runtime can execute a run right now.
On the host itself, routine diagnosis uses the user-facing commands:
sharkly computer status --output json
sharkly computer logs --lines 100
The daemon namespace exposes process lifecycle and disk controls, including sharkly daemon disk-usage and sharkly daemon cleanup, which is a dry run unless you add --confirm. The docs’ decision rule: prefer computer status and computer logs for routine diagnosis, and reach for daemon only when you need process lifecycle, disk reporting, or cleanup. The Computers post in this series goes deeper on ownership, visibility, and cleanup policies.
Scripting Tasks: work that arrives without a meeting
Tasks are where the CLI earns its place in a pipeline. The command family reads like a scriptable version of the board:
sharkly task list --output json
sharkly task search "authentication error" --output json
sharkly task create --title "Investigate authentication error" --output json
sharkly task edit <task-id> --status <status> --output json
sharkly task comment <task-id> --body "Investigation started." --output json
The obvious CI use case is filing work automatically. A nightly job that detects a failed release does not need a person filling in a form:
sharkly task create \
  --title "Investigate the failed release" \
  --body-file ./task-body.md \
  --output json
Use --body-file or --body-stdin whenever exact content matters, since the short --body form decodes escape sequences. And because a Task assigned to an Agent starts a run when it sits in a ready status, that one command can be the top of a fully automated loop: the script files the Task, the assigned Agent claims it, and the execution, blockers, and result return to the Task where a person reviews them the next morning.
Reporting scripts get real filters rather than client-side sifting. You can filter by status age with --status-changed-within 7d, and by custom fields:
sharkly task list --space HF --field "Customer Tier=VIP" --output json
Repeated --field flags are ANDed, matching is type-aware and exact, and filtering happens on the server before pagination. Adopt the docs’ scripting conventions wholesale: request --output json explicitly, add --color never and --quiet, keep --organization-id visible, and use set -euo pipefail. Exit codes are contractual: 0 for success, 1 for command, validation, authentication, or remote API errors, and 2 for transient local-service or network conditions, which makes retry logic straightforward.
The CLI is also self-describing. sharkly schema task create --format json exposes the command registry in machine-readable form, and sharkly tldr task surfaces curated scenarios, which matters when the thing writing the script is itself an agent.
Watching runs without opening a dashboard
Execution is observable through the same surface:
sharkly run list --task <task-id> --output json
sharkly run view <run-id> --output json
sharkly run log <run-id> --since <sequence> --output json
sharkly run cancel <run-id> --output json
The --since flag makes polling sane: a monitoring script records the last processed sequence number and retrieves only newer messages on each pass. Pair that with sharkly agent list, sharkly automation view, and sharkly automation runs and you can build a status page for your agent workforce out of a shell script and jq.
The REST API and webhooks
Everything the CLI does rides on the REST API, and the docs show the direct path: send your personal access token as a bearer token over HTTPS.
curl -fsS https://api.sharkly.ai/rest/v1/users/current \
  -H "Authorization: Bearer ${SHARKLY_TOKEN}"
Access through the API is limited by the permissions of the user behind the token; the current token model has no per-token scope selection, which is a good reason to create a separate token for each service with a defined expiration. The endpoint reference lives at docs.sharkly.ai, and the CLI’s --output json responses are a faithful preview of the shapes you will work with.
Traffic flows the other way too. An Automation can carry a webhook trigger: Sharkly generates a secret URL that accepts a POST request, and a valid request starts the Automation’s Agent or Crew run. The full URL is shown once and acts as a bearer secret by default, with optional signature verification. This is the inbound half of the CI story: your pipeline telling Sharkly “something happened, run the triage Agent.”
It is worth being precise about what this surface is not. The Sharkly CLI is not another coding agent, and the API is not a model endpoint. Runtimes like Claude Code and Codex perform execution; Sharkly’s programmatic surface manages the layer around them. That neutrality separates it from ecosystem-bound options like GitHub Agent HQ, where the automation surface and the execution live inside one vendor’s walls.
Where to start
Start smaller than you think. Create a personal access token with a 90-day expiry, run sharkly login --token, and script the most boring read you do every day, such as a task list piped through jq into a morning summary. Reads are safe, and they teach you the JSON shapes. Then automate one write with an obvious trigger, like creating a Task from a failed CI job. Wire a webhook trigger only after both feel routine.
The pattern to preserve is the one the whole platform is built on: scripts and Agents generate and execute the work, and the context, progress, blockers, results, and human review stay visible from request to release. Automate the entrances. Keep the review.
FAQ
Do I need the CLI to use Sharkly?
No. Sharkly Desktop covers connecting a personal computer, and the web app covers daily Task work. The CLI becomes necessary when you connect a remote host or Linux computer, since installing the Sharkly CLI and local service is the documented setup path there, and it becomes valuable whenever a workflow repeats often enough that clicking through it is a cost.
What is the difference between a personal access token and an install token?
A personal access token (prefix shk_) authenticates a human or a script as your user account, for CLI logins, CI jobs, and direct API requests. A computer install token (prefix sit_) is one-time and short-lived, expiring after 30 minutes, and only registers a Computer. Neither substitutes for the other.
Can I call the Sharkly REST API directly instead of using the CLI?
Yes. Send a personal access token as a bearer token over HTTPS to api.sharkly.ai; the docs show curl -fsS https://api.sharkly.ai/rest/v1/users/current with an Authorization: Bearer header as the pattern. The token carries the permissions of your user account.
How do I create a Task from a CI pipeline?
Store an shk_ token as a protected CI secret and expose it as the SHARKLY_TOKEN environment variable, which the CLI reads automatically. Then run sharkly task create with --title, --body-file for exact multiline content, an explicit --organization-id, and --output json so the job can capture the created Task’s ID.
Does revoking my personal access token stop my registered Computers?
No. Computer registration creates an independent local-service session through the install token, so revoking a personal access token does not stop those Computers. Revocation does invalidate the token everywhere it is used for CLI, API, and automation requests, which is why rotation should update dependent scripts before the old token is revoked.